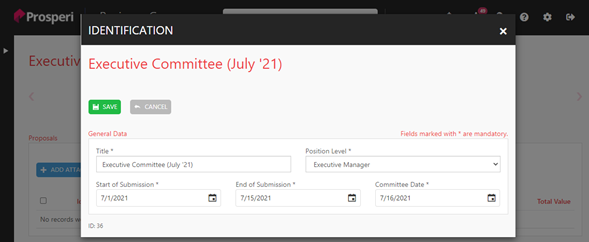
When a user creates a committee, they will see three sections: “Identification”, “Selection of Proposals”, and “Details”.

The first section is the Identification section that contains the same information populated in the committee creation. Any type of change can be made on this screen.
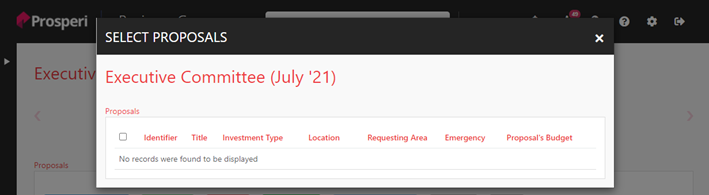
The Proposals Selection section allows the user to include proposals for that committee.
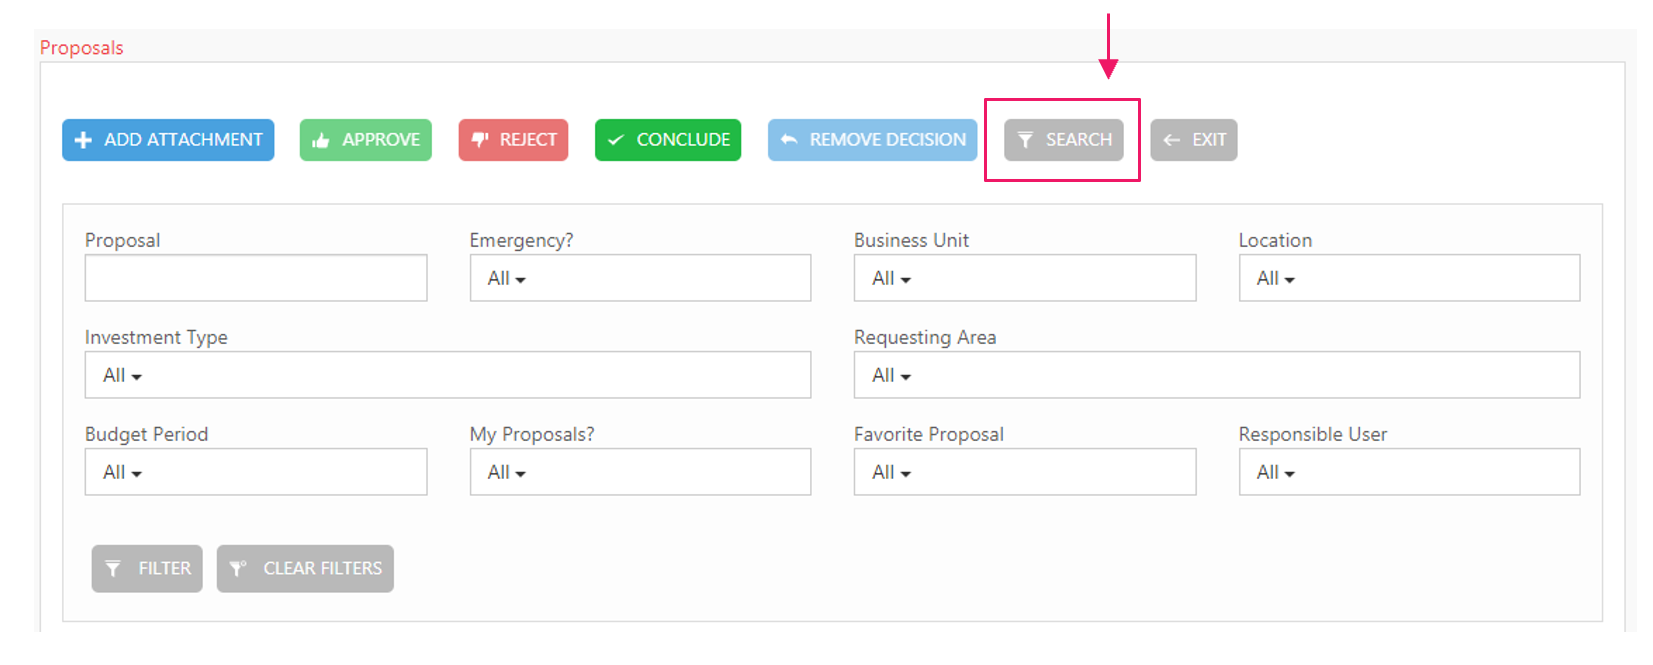
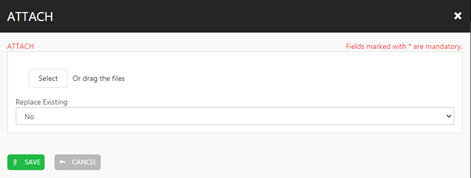
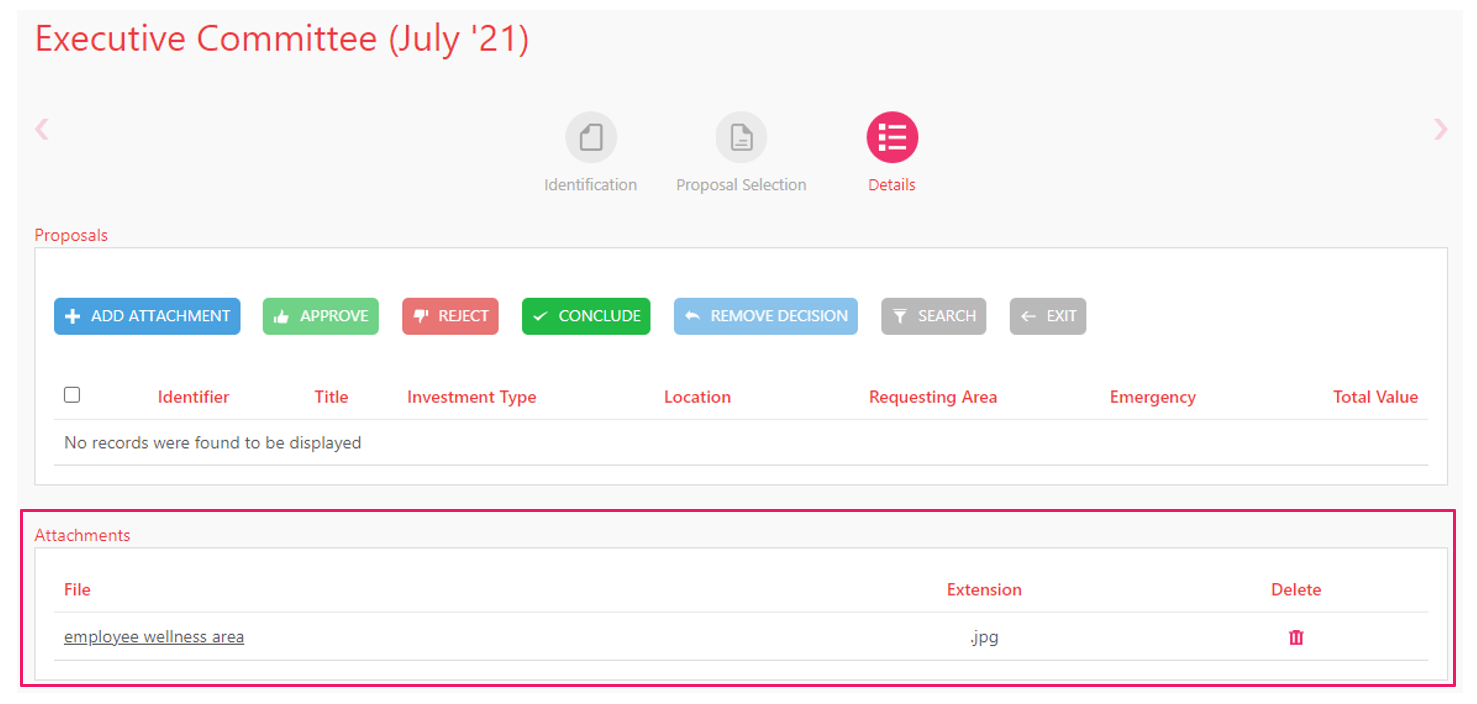
The Details section is where the committee dynamics occur. The first functionality is to Add Attachment since it is very common for committees to have meeting minutes which can be added. To upload this or any other file click the “Add Attachment” button and upload the desired file.

After attaching the desired file(s), users can view them at the end of the committee page as shown in the image below.
Next to the add attachment button, there is the APPROVE, REJECT, COMPLETE and REMOVE DECISION buttons which will be used respectively to approve and disapprove the selected proposals. If a user needs to remove any decision made, select the proposal, and use the option to remove decision. Once the action of “Complete” is applied, no more actions will be available to the committee.
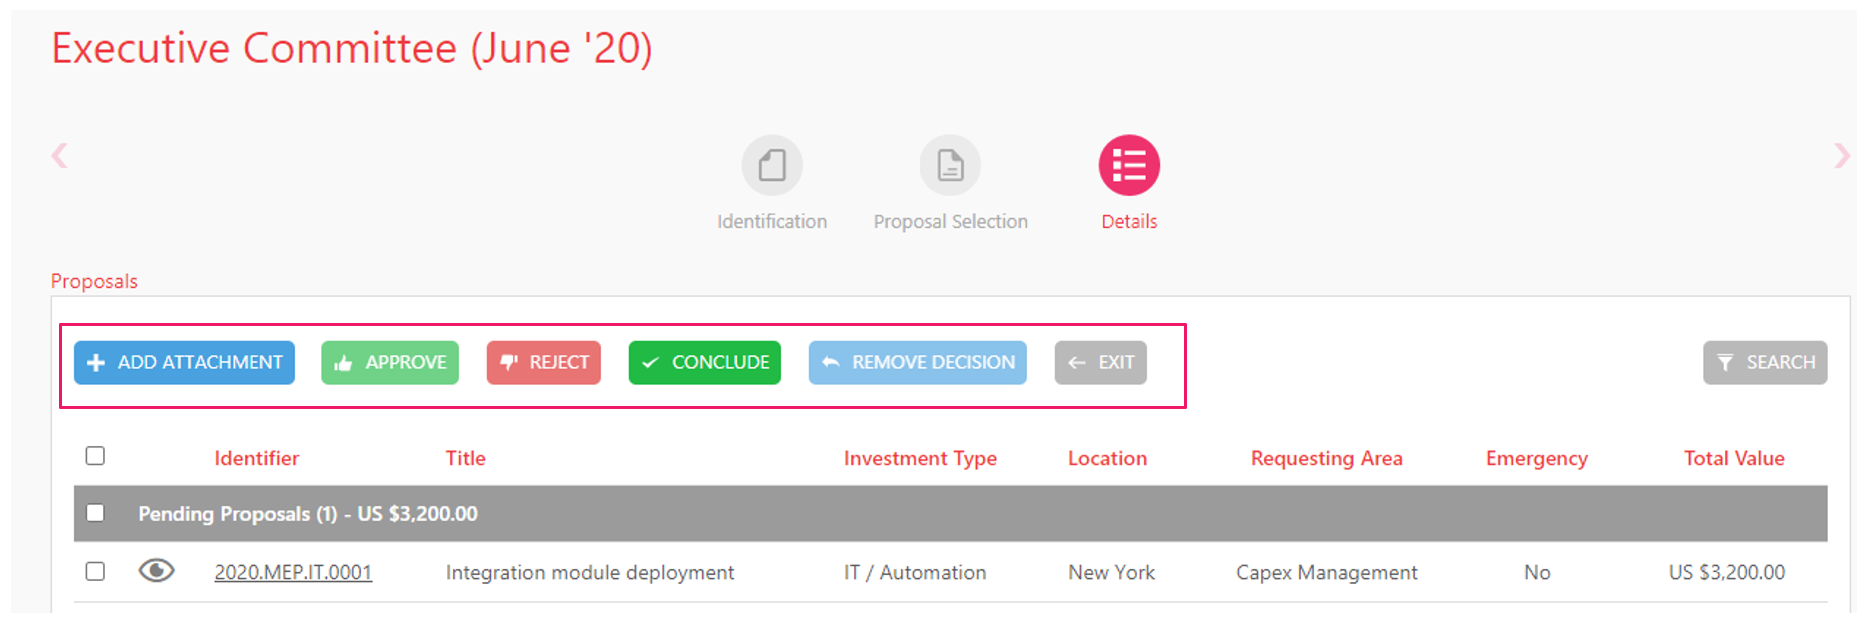
The exit option will take the user to the main approval screen in committee. There is also the option of filters, to assist users in the search for proposals within the committee.